
Intro
Synology NAS are cool. And they are also extremely useful for working groups. They have lots of tools to collaborate, just like Google, but they are better than Google because your data is yours and Google does not have full read access to it.
One of the interesting things in Synology NAS is that you can create events in the calendar application and the system invites by e-mail those you want. It also notifies the invitees when an event is changed or canceled.
In order to send e-mails, at least one e-mail account must be configured in the system.
Due to the fact that our server is within the University of Valencia network and it has filtered some ports, you won’t be able to configure your own e-mail account for your synology user. For that reason, I have created a generic account in our e-mail server that you will use to send e-mail notifications from the project server.
Configuring the e-mail account
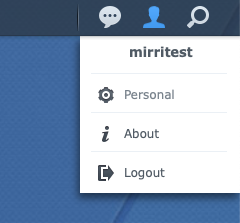
You must click in Options in the upper right part of your screen and there choose Personal on the displayed menu (fig. 1)
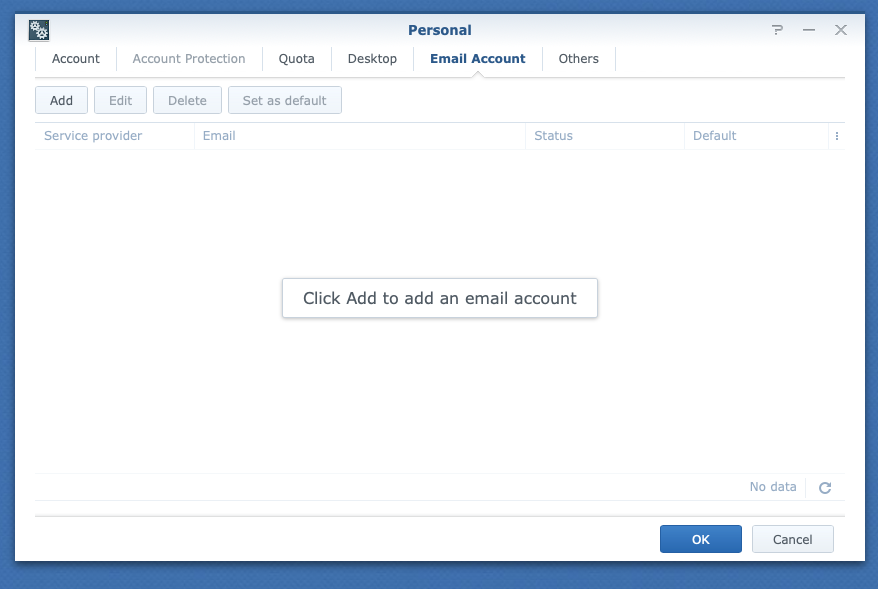
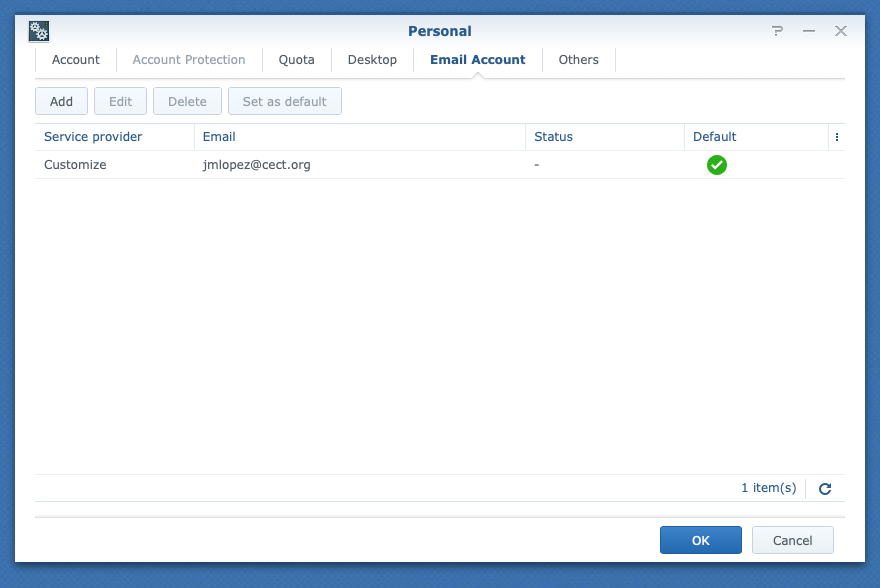
In the Personal window that appears, you must go to the Email Account tab (fig. 2). As you won’t have any e-mail account added to the system, the message “Click Add to add an email account” will appear.
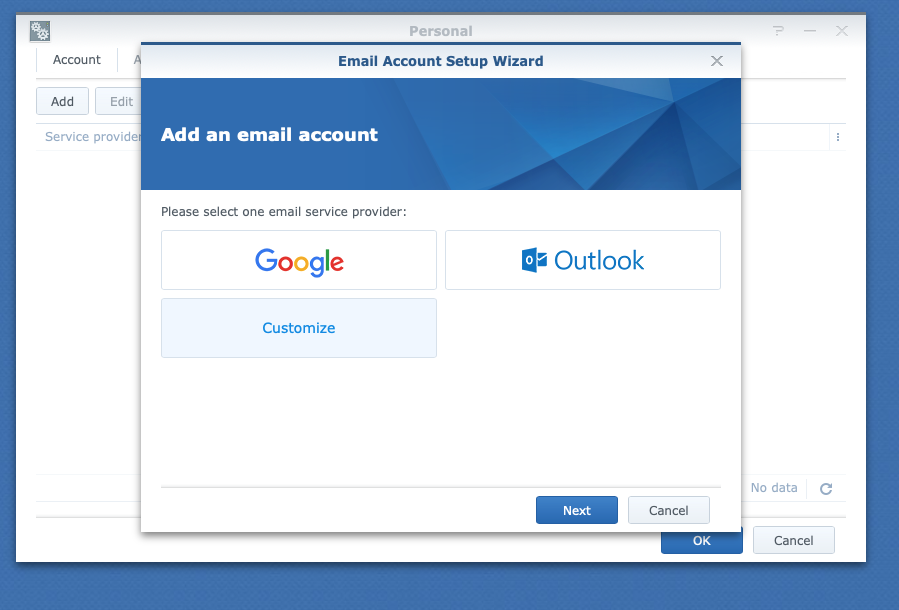
After clicking “Add”, some Options will appear. You can configure your Google account, your microsoft account or your own email provider account choosing the Customize option (fig. 3).
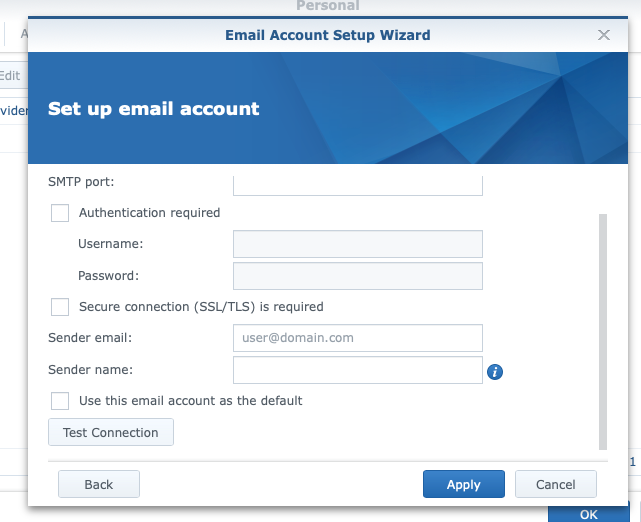
If you have chosen «Customize» the “Set up email account” form will appear (fig. 4). Ask your e-mail provider (the IT manager of your institution will be valid also) for the details you must include in this form.
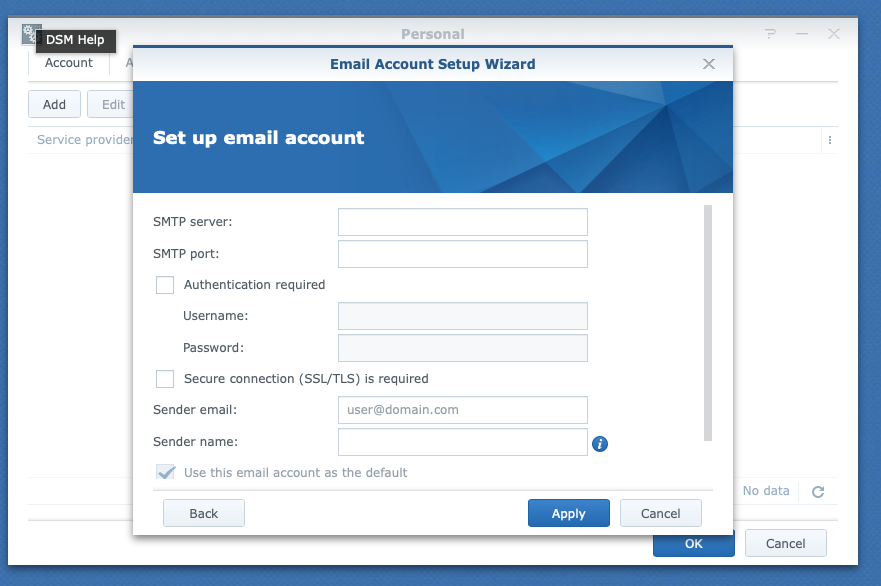
Before Apply check that your server is accepting the synology connections by scrolling the form down until you see the «Test Connection» button (fig. 5). Click it and if everything is all right you will se a green checkmark at the right of the button.
If everything is all right you will see your brand new email account in the Email Account tab (Fig. 6).
Your brand new e-mail account has been configured. Congratulations!
Now you will be able to invite others by email to the events you create in the calendar application. But that is another stoty that must be told.
